Rava Dosa Recipe
Rava Dosa, a quintessential South Indian dish, is renowned for its crispy texture and irresistible flavor. Made from a combination of semolina, rice flour, and spices, Rava Dosa offers a quick and delicious meal option that can be enjoyed any time of the day. In this blog post, we’ll explore the art of making perfect Rava Dosas at home, covering everything from the recipe itself to answering frequently asked questions, providing tips and tricks, and offering creative serving suggestions.
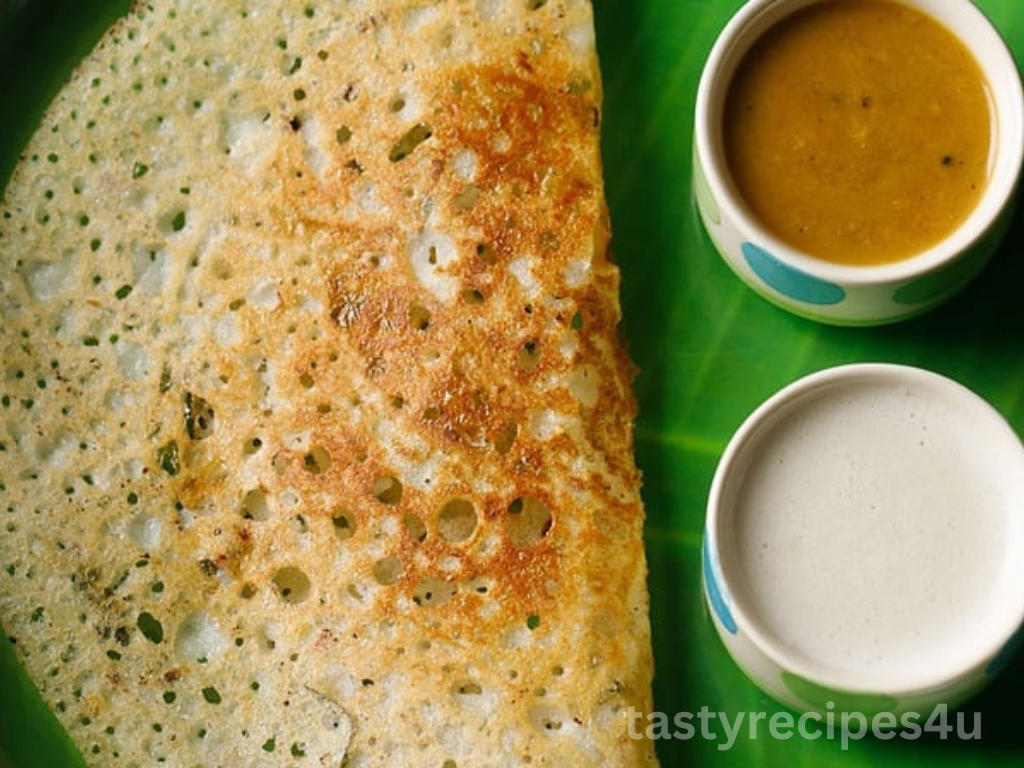
About Rava Dosa
Rava Dosa is a type of dosa, a traditional Indian crepe or pancake, originating from South India. What sets Rava Dosa apart from other dosa varieties is its unique batter, which is made from a mixture of semolina (also known as rava or sooji), rice flour, and all-purpose flour. Unlike traditional dosa batter, Rava Dosa batter does not require fermentation, making it a quick and convenient option for those craving dosas without the wait.
How to make Rava Dosa recipe
Ingredients:
- 1 cup fine semolina (sooji or rava )
- 1/2 cup rice flour
- 1/4 cup all-purpose flour (maida)
- 1/4 cup finely chopped onions
- 2-3 finely chopped green chilies
- 2 tablespoons finely chopped coriander leaves
- 1 tablespoon grated ginger
- 1/2 teaspoon cumin seeds
- 1/2 teaspoon whole black peppercorns
- 1/4 teaspoon asafoetida (hing)
- Salt to taste
- 3 cups water
- Oil or ghee for cooking
Instructions:
- In a large mixing bowl, combine the semolina, rice flour, all-purpose flour, chopped onions, green chilies, coriander leaves, grated ginger, cumin seeds, black peppercorns, asafoetida, and salt.
- Gradually add water to the dry ingredients while whisking continuously to form a smooth and runny batter.
- Let the batter rest for about 15-20 minutes to allow the semolina to absorb the water and for the flavors to meld together.
- After resting, give the batter a quick stir. If it has thickened too much, you can add a little more water to adjust the consistency.
- Heat a non-stick skillet or dosa tawa over medium-high heat. Sprinkle a few drops of water on the skillet – if it sizzles and evaporates immediately, the skillet is ready for making dosas.
- Stir the batter well and pour a ladleful of batter onto the center of the skillet. Using the back of the ladle, spread the batter in a circular motion to form a thin layer.
- Drizzle a teaspoon of oil or ghee around the edges of the dosa and a few drops on top. Cook the dosa on medium heat until the edges start to lift and turn golden brown.
- Once the edges are crisp and golden, carefully loosen the edges with a spatula and flip the dosa. Cook for another minute or until the other side is cooked through and lightly golden.
- Remove the dosa from the skillet and serve hot with coconut chutney, sambar, or any other accompaniment of your choice.
Serving Suggestions:
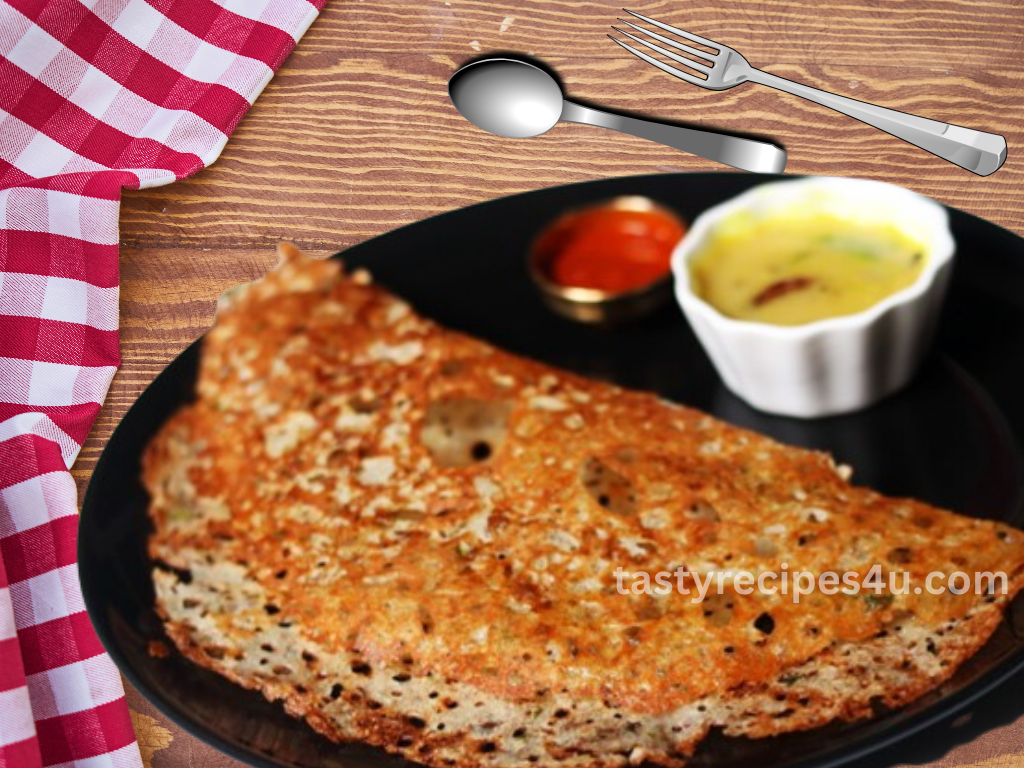
- Rava Dosas pair well with a variety of accompaniments, including coconut chutney, sambar (a lentil-based vegetable stew), and spicy tomato chutney.
- For a complete meal, serve Rava Dosas with a side of potato masala (a spiced potato filling) for stuffing or dipping.
- Garnish dosas with freshly chopped coriander leaves and grated coconut for an added burst of flavor and freshness.
- For a fusion twist, serve Rava Dosas with toppings like shredded cheese, sautéed vegetables, or even leftover curry for a unique flavor experience.
Tips and Tricks:
- Consistency is key: Ensure that the batter has a thin and runny consistency to achieve crispy dosas. If the batter is too thick, the dosas may turn out dense instead of crispy. If necessary, add additional water to adjust the consistency.
- Well-heated skillet: Preheat the skillet or dosa tawa well before pouring the batter. A hot skillet ensures that the dosas cook evenly and develop a nice golden color.
- Non-stick surface: Use a well-seasoned non-stick skillet or dosa tawa to prevent the dosas from sticking. If using a traditional cast-iron skillet, make sure to season it properly to create a non-stick surface.
- Drizzle oil generously: Drizzling oil or ghee around the edges of the dosa while cooking not only adds flavor but also helps in achieving a crispy texture. Don’t skimp on the oil for the best results.
- Master the flipping technique: Carefully flip the dosa once the edges start to lift and turn golden brown. Use a flat spatula to gently loosen the edges before flipping to ensure that the dosa doesn’t break apart.
- Experiment with toppings: Get creative with your dosa toppings by adding ingredients like grated cheese, sliced vegetables, or paneer (Indian cottage cheese) before flipping the dosa. This adds flavor and texture to your dosas and makes them more exciting.
Frequently Asked Questions (FAQs):
Q1: Can I make Rava Dosa without rice flour?
A1: While rice flour is a common ingredient in Rava Dosa recipes, you can still make delicious dosas without it. In the absence of rice flour, you can use wheat flour or gram flour (besan) as a substitute. However, keep in mind that the texture and flavor of the dosas may vary slightly depending on the substitution.
Q2: How do I achieve a crispy texture in my dosas?
A2: Achieving a crispy texture in Rava Dosas requires attention to detail in both the batter consistency and the cooking technique. Ensure that the batter is thin and runny, similar to crepe batter, as this will help create a crispy dosa. Additionally, cooking the dosa on medium-high heat and drizzling enough oil or ghee around the edges will aid in achieving crispiness.
Q3: Can I store Rava Dosa batter for later use?
A3: While Rava Dosa batter is best used fresh, you can refrigerate any leftover batter for up to 1-2 days. Make sure to store it in an airtight container to prevent it from drying out. Before using the refrigerated batter, give it a good stir as it may thicken upon refrigeration. If the batter becomes too thick, you can adjust the consistency by adding a little water.
Q4: How do I prevent the dosa from sticking to the skillet?
A4: To prevent dosas from sticking to the skillet, it’s essential to use a well-seasoned non-stick skillet or dosa tawa. Additionally, make sure the skillet is adequately heated before pouring the batter. Drizzling a little oil or ghee around the edges of the dosa while cooking will also create a non-stick surface and prevent sticking.
Q5: Can I make gluten-free Rava Dosas?
A5: Yes, you can easily make gluten-free Rava Dosas by omitting the all-purpose flour (maida) from the recipe and using only rice flour and semolina. Ensure that all the other ingredients, including spices, are also gluten-free to accommodate dietary restrictions.
Conclusion:
Mastering the art of making Rava Dosas at home is a rewarding experience that allows you to indulge in crispy, flavorful dosas whenever the craving strikes. With the detailed recipe, tips and tricks, FAQs, and serving suggestions provided in this guide, you’re well-equipped to create restaurant-quality dosas in your own kitchen. So gather your ingredients, follow the steps, and get ready to savor the irresistible goodness of homemade Rava Dosas!

